01 / 05 · Prep depthPrep scan + pre-op or wax-up · STL, PLY, OBJ
Prep depth
How much was removed — the pre-op scan over the prep, cut through, in millimetres.
Enough room for the material is decided at the chair. The numbers are there before the crown is designed, not after the technician sends it back.
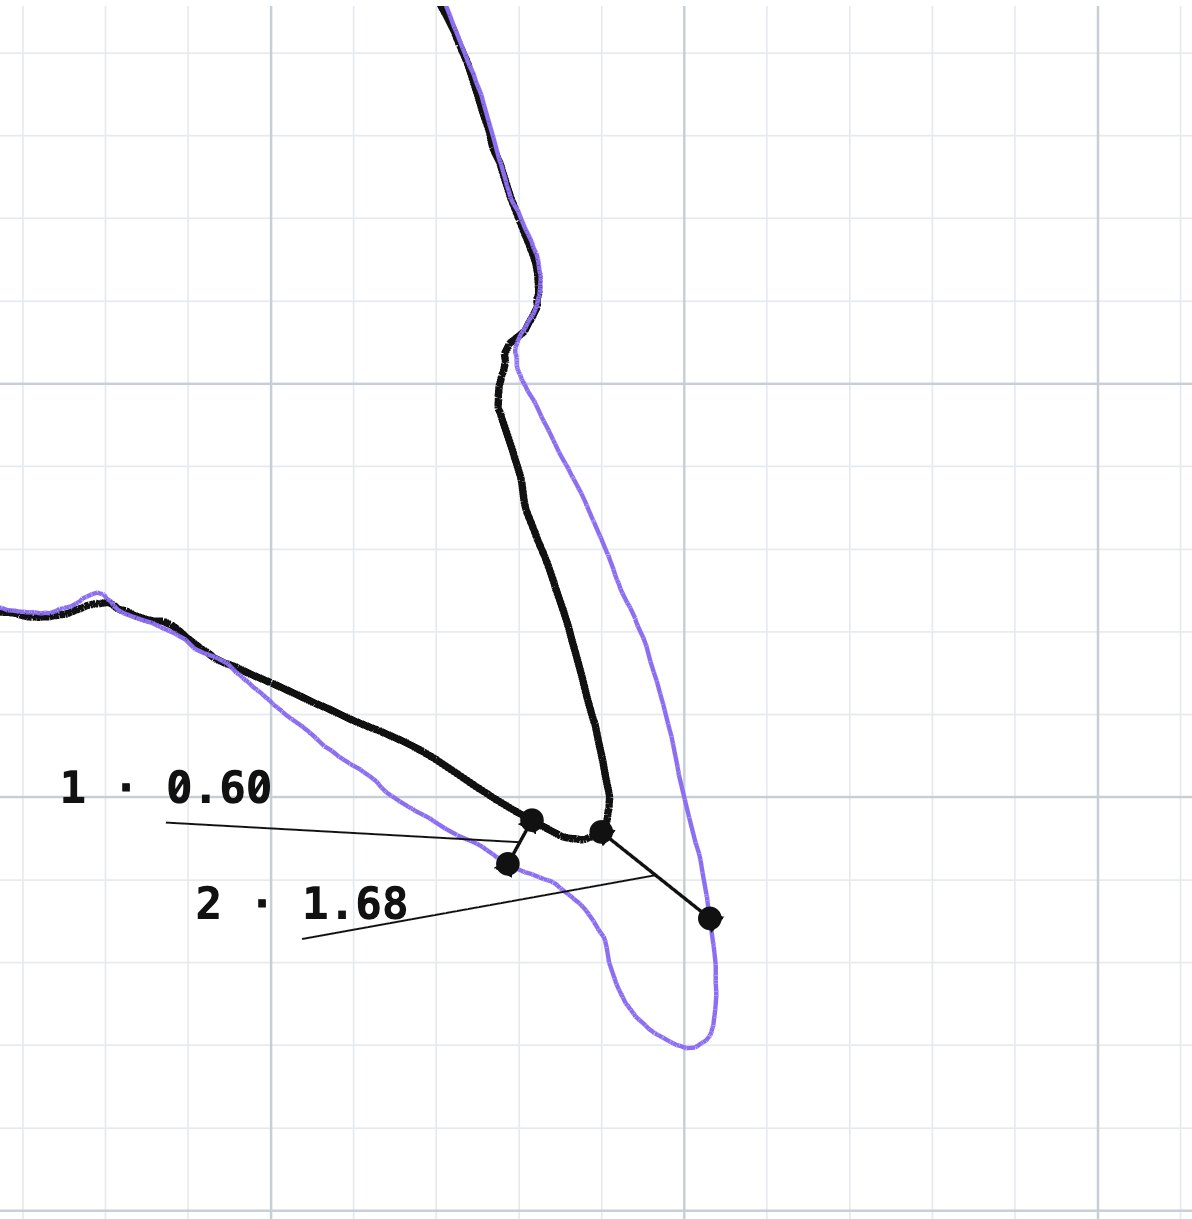
InPrep + pre-op or wax-up
OutSection · PNG sheet · link
RunsIn your browser
KeptNothing, unless shared
How to use it3 steps · on a real case
- 1Drop two scans
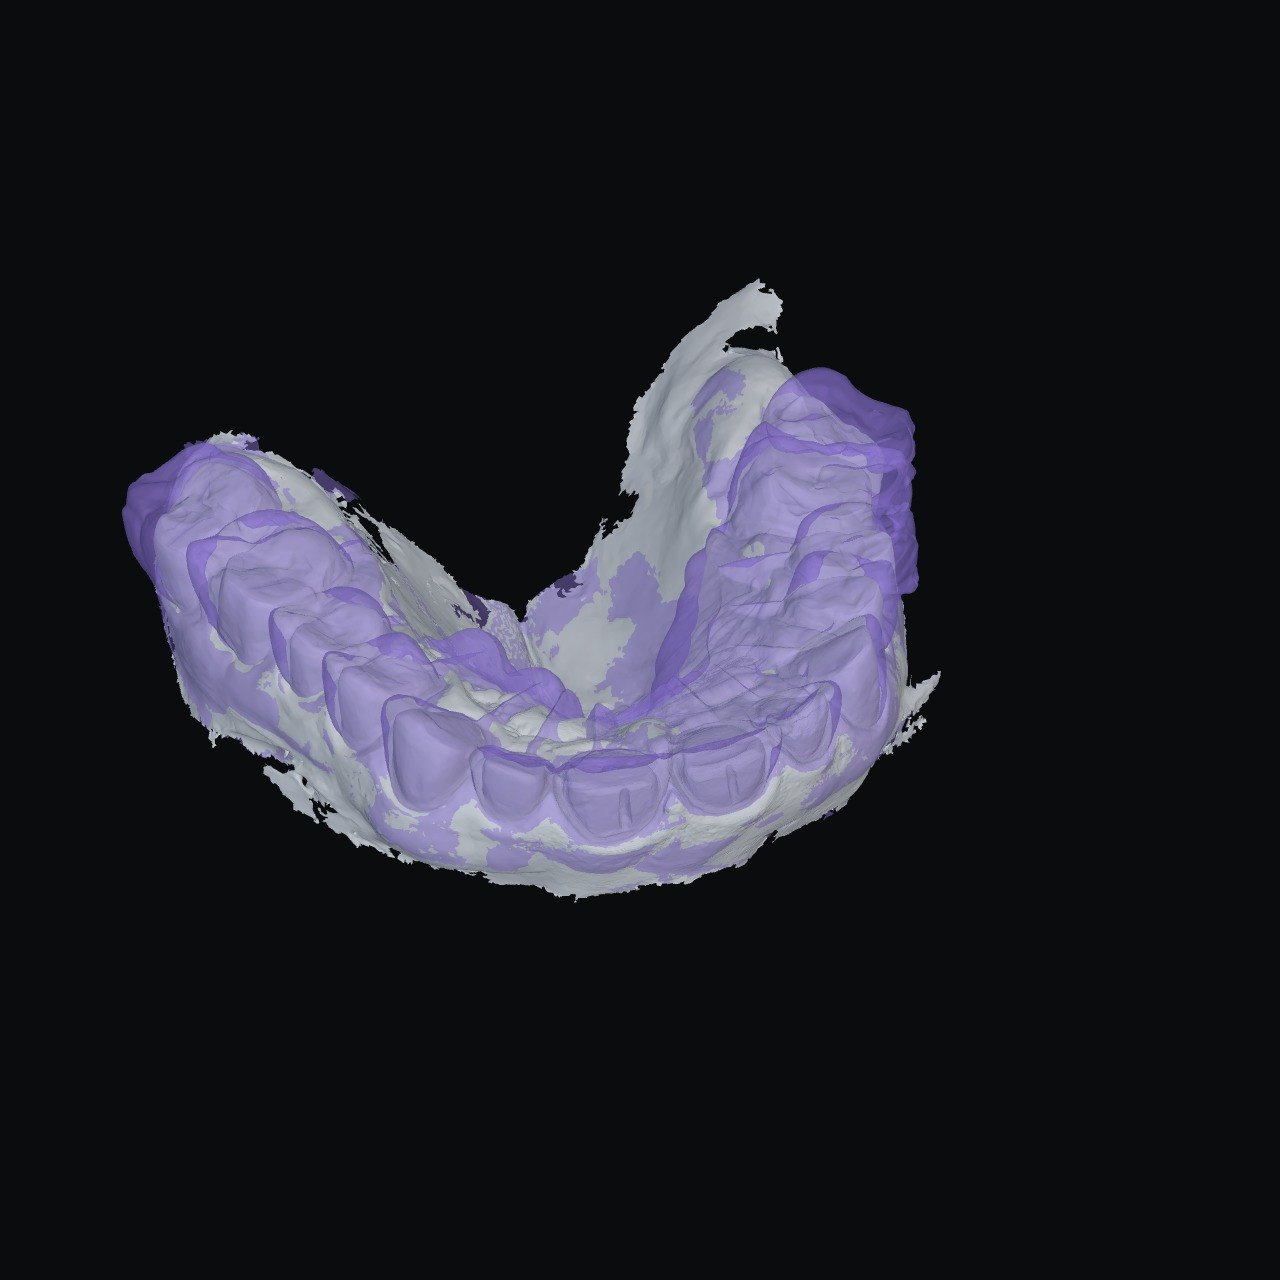
The prep and the pre-op. Or the prep and a wax-up, temporary or old crown — to see the room over the stump.
- 2It lines them up
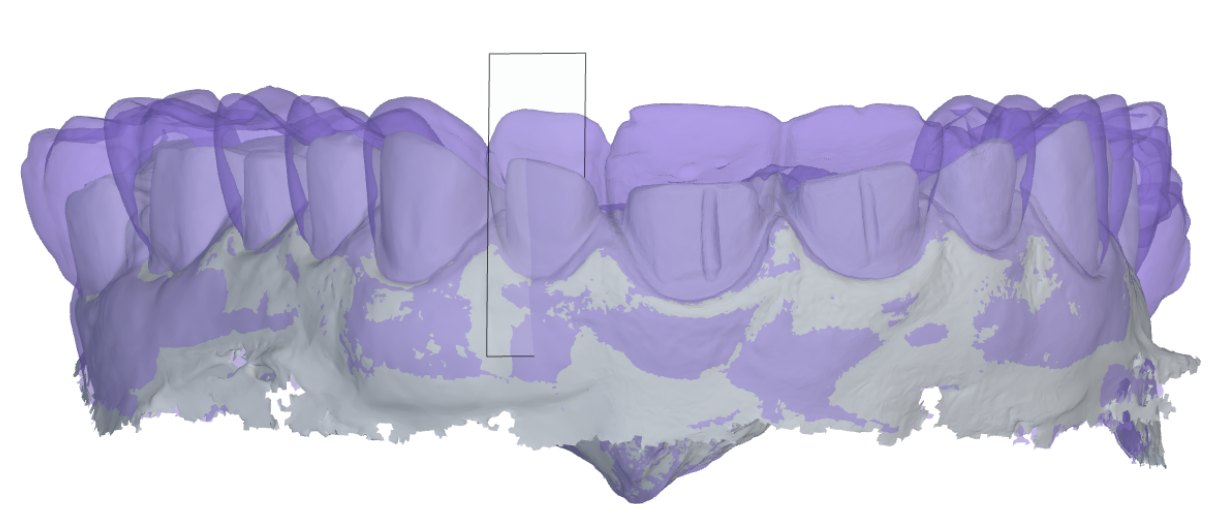
Checks it is one jaw, then aligns on what the prep did not touch. If it cannot, it asks for three points.
- 3Cut and measure
The cut follows the tooth you tap. You place the sizes on the section, in mm.
What you getOn screen and to take away
- 3D of both scans; the cut plane follows the tapped tooth, turns 5° per press, or goes horizontal.
- Section with both outlines; measurements are yours, point to point, in mm — no automatic “thinnest point”.
- Space over the prep: a colour map on the wax-up, with a transparency slider to see the stump beneath.
- Save: an A4 sheet at 300 dpi — model, section at scale with a 1 mm grid, the table of measurements.
- Share link: 30 days, opens without login; your measurements travel in the link itself.
Measured, not promisedOn our cases
- It does not matter how the files were exported: turned or upside-down, they land within 0.1 mm of each other.
- No number is shown before the two scans are checked to be one jaw, lined up on untouched teeth.
Next tool02 · Bite →
The bite found from two scans, with the contacts on both jaws.